
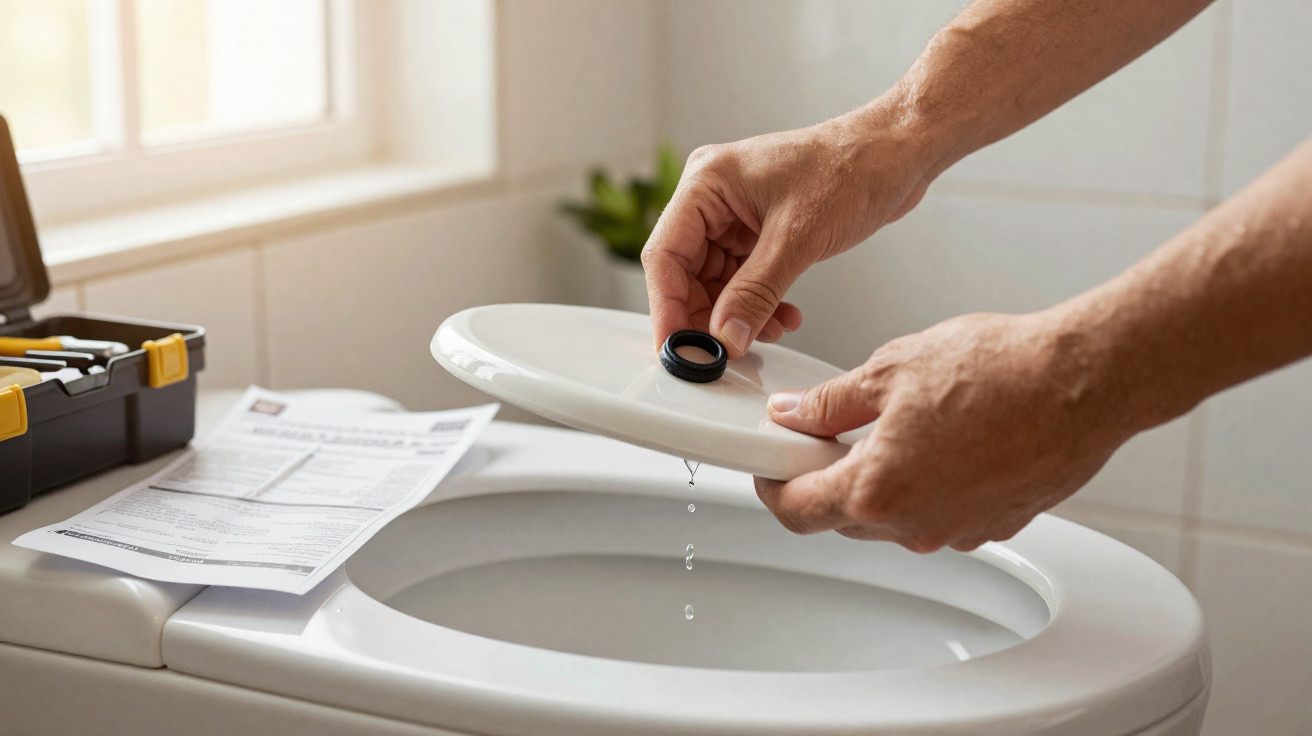
It is 2.17 am, the flat is quiet, yet a faint trickle is still whispering through the toilet. You turn over in bed, tell yourself it can wait until tomorrow, then picture the water meter running non-stop. We have all had that moment when a minor household noise suddenly becomes intensely irritating. The good news is that this fault does not necessarily mean a plumber’s bill. In many cases, the culprit is hidden at the bottom of the cistern: a simple flush valve seal, available for around £5. A few minutes, slightly wet hands and a little care may be all it takes. The crucial detail is beneath the lid.
This thin trickle of water can cost far more than you think
A toilet that runs continuously does not always make much noise. You may only notice a slight ripple in the bowl, or a clear line of water running down the porcelain. Yet this discreet movement nearly always tells the same story: the cistern is no longer sealing properly, so water escapes and the mechanism keeps refilling. The sealing washer, fitted to the flush valve or flap depending on the model, is often the first thing to suspect.
For Claire, in Lyon, the leak seemed so minor that she let it continue for several weeks. One morning, after adding a few drops of food colouring to the cistern, she saw blue-tinted water appear in the bowl without flushing. The diagnosis was clear. Depending on its size, a faulty flush can waste tens or even hundreds of litres a day. And that water is certainly not free.
The seal deteriorates because of limescale, harsh cleaning products and years of repeated pressure. It can harden, lose its shape or become coated in a rough deposit that allows water through. It is not especially dramatic, but the mechanism is straightforward: if the rubber part no longer sits tightly against its seat, the cistern cannot hold the water. A gap of just a few millimetres can sometimes cause a constant leak.
The under-£5 part to check before calling a plumber
Start by carefully lifting off the cistern lid, then turn off the small water isolation valve on the wall near the toilet. Flush the toilet to empty the cistern and inspect the mechanism. On many models, you only need to unclip or slightly twist the flush valve to reach the circular seal at its base. Take the old seal to a DIY shop: it is the simplest way to ensure you buy the correct diameter.
When the mechanism is easy to access, replacing it rarely takes more than 15 minutes. First clean the area where the seal sits, using a soft sponge and a little white vinegar if limescale has built up. Let us be honest: hardly anyone does this every day, which is precisely why deposits eventually accumulate. Avoid using a knife, screwdriver or overly corrosive products: a scratch on the sealing surface can keep the leak going.
Before putting the lid back on, slowly turn the water supply on again and check that the level stops below the overflow. If the water keeps rising, the issue may lie with the float, which could be set too high or no longer working correctly.
“For the majority of small toilet leaks, it is best to check the water level before replacing the entire mechanism,” advises a plumbing department assistant at a large DIY store.
- Check whether water is flowing into the bowl without flushing.
- Test it by adding a few drops of food colouring to the cistern.
- Inspect the condition of the seal, flush valve and float.
- Replace the seal if its surface is hard, cracked or misshapen.
A small repair that prevents waste and unwelcome surprises
Fixing a leaking toilet is not only about restoring peace and quiet to the bathroom. It also means taking control of hidden water use, the kind that builds up day after day without anyone really noticing. A seal costing a few pounds can prevent a much larger expense, particularly in a household where the water meter is already rising quickly. If the mechanism remains temperamental after the replacement, the float or valve should then be checked.
There is something reassuring about this small repair: you open a cistern, finally understand what happens behind the flush button, and discover that an ordinary part can solve a very practical problem. Keeping a compatible seal in a drawer is not excessive, especially in an older property. And if you have already dealt with this sort of leak, your experience may help a neighbour, relative or colleague who still thinks the sound of their toilet flushing is “normal”.
| Key point | Detail | Benefit for the reader |
|---|---|---|
| Flush valve seal | This rubber component can harden or become misshapen over time. | A repair that is often possible for around £5. |
| Food-colouring test | A few drops in the cistern reveal a leak into the bowl. | A straightforward diagnosis without dismantling the whole mechanism. |
| Water level | A level that is too high may indicate a poorly adjusted or worn float. | Prevents replacement of a part that is not at fault. |





Comments
No comments yet. Be the first to comment!
Leave a Comment