
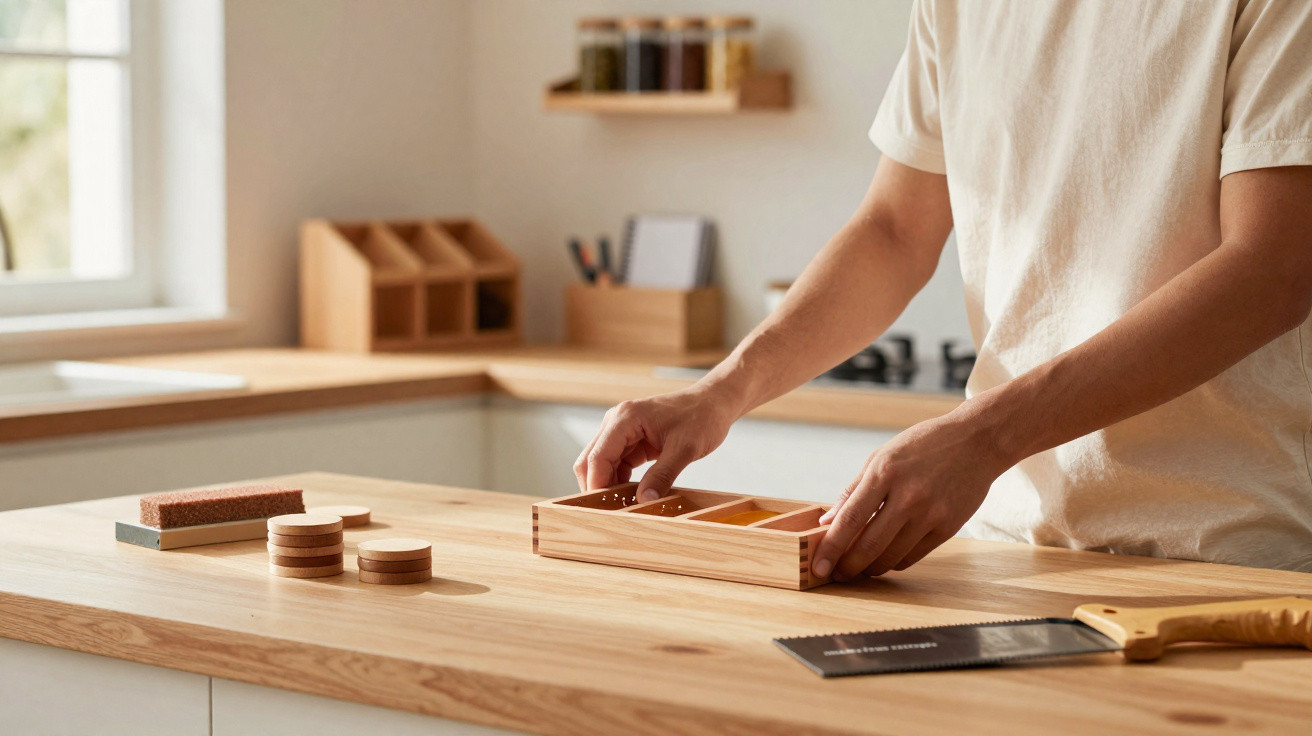
Many people will recognise the problem: worktop space keeps shrinking even when the home itself is not particularly small. Oil bottles, coffee capsules, post, chargers and toiletries all end up on the nearest table or kitchen worktop. At the same time, old boards, pallet offcuts and leftover shelving parts pile up in the cellar because “they might come in useful one day”. This creates an appealing combination: surplus items and supposed waste can become an inexpensive, personalised storage solution.
Why wood offcuts are the unsung heroes of organisation
Leftover timber has one major benefit: it is often already available, so it costs nothing. It also brings warmth and character to a room, fitting almost any interior style, from Scandinavian to industrial. Turning these offcuts into compact organisers solves several issues at once:
- Worktops look clearer and more structured.
- Used materials are given a second life.
- You can create one-off pieces made precisely to your own measurements.
- Costs stay low, making expensive designer organisers unnecessary.
A few well-positioned wooden solutions are often enough to make a crowded surface suddenly feel spacious and calm.
Choosing suitable wood offcuts
Before reaching for the saw and sandpaper, consider where the wood came from. Suitable options include:
- Offcuts from solid-wood furniture
- Clean plywood without chipped areas
- Spare floorboards left over after laying flooring
- Pallet boards without a crumbling coating
Be cautious with timber that has unknown varnishes, badly flaking paint or pressure-treated outdoor wood, especially where food may later be nearby. For the kitchen or bathroom, carry out a quick safety check: does the board have a strong chemical smell? Is the old finish peeling away? If in doubt, discard it.
Preparation: turning an old board into clean working material
A straightforward basic treatment is generally enough to make the wood pleasant and safe to use:
- Remove loose dirt with a brush or hand brush.
- Allow the wood to dry thoroughly if it has come from a cellar or garage.
- Use medium-grit sandpaper, around 80–120 grit, to soften edges and smooth the surface.
- Sand again with a finer grit until the surface feels smooth and no splinters remain.
For areas exposed to water or splashes, such as the sink, bathroom basin or coffee machine, a protective coating is worthwhile. Many DIY enthusiasts use a water-based paint or an oil, then finish it with a hard-wearing clear varnish. This helps keep out stains and moisture while maintaining an attractive finish for longer.
14 wood offcut ideas to clear every worktop
The key to organising a tight space is to make use of height and group items by category. Rather than spreading everything across one flat surface, create levels, niches and small dedicated zones. These 14 projects can be made from leftover boards:
- Raised spice and oil stand: A simple wooden riser lifts bottles and tins, leaving the worktop clear in front.
- Utensil caddy: A compact compartmented box for wooden spoons, scissors, pens or paring knives that is easy to carry and put away.
- Slim spice shelf: A long, narrow board fixed to the wall holds spice jars that would otherwise take up valuable surface space.
- Chopping-board holder: A vertical stand with slots keeps boards secure instead of allowing them to topple over one another.
- Capsule or coffee-pod organiser: Small rails or compartments sort coffee portions directly beside the machine.
- Filter and napkin station: A shallow box with two sections, ideal for coffee filters and cloth or paper napkins.
- Mini shelf for soap bottles: A small platform beside the kitchen or bathroom sink keeps bottles from standing directly in water.
- Home-office organiser: A compartmented box for pens, sticky notes, a ruler and paper clips.
- Monitor riser with storage: A wide wooden bridge raises the monitor to eye level, with space for the keyboard underneath.
- Charging station for smartphones and tablets: Several slots with cable openings ensure everything charges in one designated place.
- Wall organiser for post and documents: A shallow shelf with dividers for sorting bills, letters and to-do notes.
- Bathroom tray for toiletries: A small platform beside the basin where every bottle has a fixed place.
- Wooden tray for keys and small items: In the hallway, it catches everything that would otherwise end up on a sideboard.
- Mini book crate: A small wooden crate for a sideboard, holding cookbooks, children’s books or current reading.
Once you get started, you quickly realise that every new wooden board in the cellar is no longer waste, but a potential organisation station.
Making each project fit the kitchen, office and bathroom
A little planning prevents the new organisers from becoming space-hungry themselves. All you need is a tape measure, pencil and sheet of paper. For each area, ask three simple questions:
- What is the maximum width and depth of the wooden item?
- Which objects need to fit on or inside it?
- How much height is available, for example beneath wall cabinets or below the monitor?
A quick sketch is entirely sufficient: draw a rough rectangle, divide it into compartments and allow space for finger holes or cable openings. If you plan to incorporate chargers, mark the location of the sockets straight away.
Simple construction for beginners
Most of these projects need only straight cuts and can be assembled with wood glue plus a few screws or nails. They are ideal for anyone without a fully equipped workshop. Basic equipment includes:
- A handsaw or jigsaw
- Sandpaper or a small orbital sander
- Wood glue
- Screws and, if needed, brackets
- A pencil, ruler and tape measure
If you are unsure, begin with a simple riser: use one longer board as the top surface and two shorter pieces as feet on the left and right. That is all you need initially. Dividers, handles or decorative routed details can be added later.
Finish and protection: making organisers look shop-bought
A little extra finishing work makes these projects look far more refined. There are three effective approaches:
- Natural finish: Sand the wood and treat it only with oil, retaining the warmth and grain of the timber.
- Colourful accent: Use an opaque paint on the outside and perhaps leave the inner surfaces neutral; this works particularly well when the wood is a very mixed selection.
- Wood and white combination: Keep the top natural and paint the sides white, a good match for modern kitchens and offices.
Moisture matters particularly in kitchens and bathrooms. In these rooms, choose a durable clear varnish or specialist hardwax oil. Water marks can then be wiped away easily without the wood swelling immediately.
Common pitfalls and how to avoid them
The same mistakes appear time and again: organisers are too large, positioned directly in the way, or designed with too few compartments. A brief trial using cardboard boxes or stacks of books in the intended dimensions can help. You will quickly see whether the height is intrusive or whether there is enough room for bottles and tins.
Another issue is that people often underestimate how many small items build up in everyday life. It is better to plan one extra compartment than to have everything scattered over the surface again later. If you are making a charging station, for instance, you can also allow room for headphones, a power bank and a smartwatch.
Benefits beyond better organisation
These projects do more than tidy up; they can also change how you view your home. “Waste” becomes handmade solutions that can last longer than many shop-bought plastic boxes. Children can easily get involved too: marking out holes, sanding and applying the final coat of paint together turns the task into both a useful organiser and a small family project.
Most designs can also be adapted later, which is especially practical. If the coffee machine changes, a capsule holder can become a spice rack, for example. A former monitor stand may eventually serve as a mini bar or plant plinth. The system can therefore evolve with different stages of life rather than ending up unused in a corner.


Comments
No comments yet. Be the first to comment!
Leave a Comment