
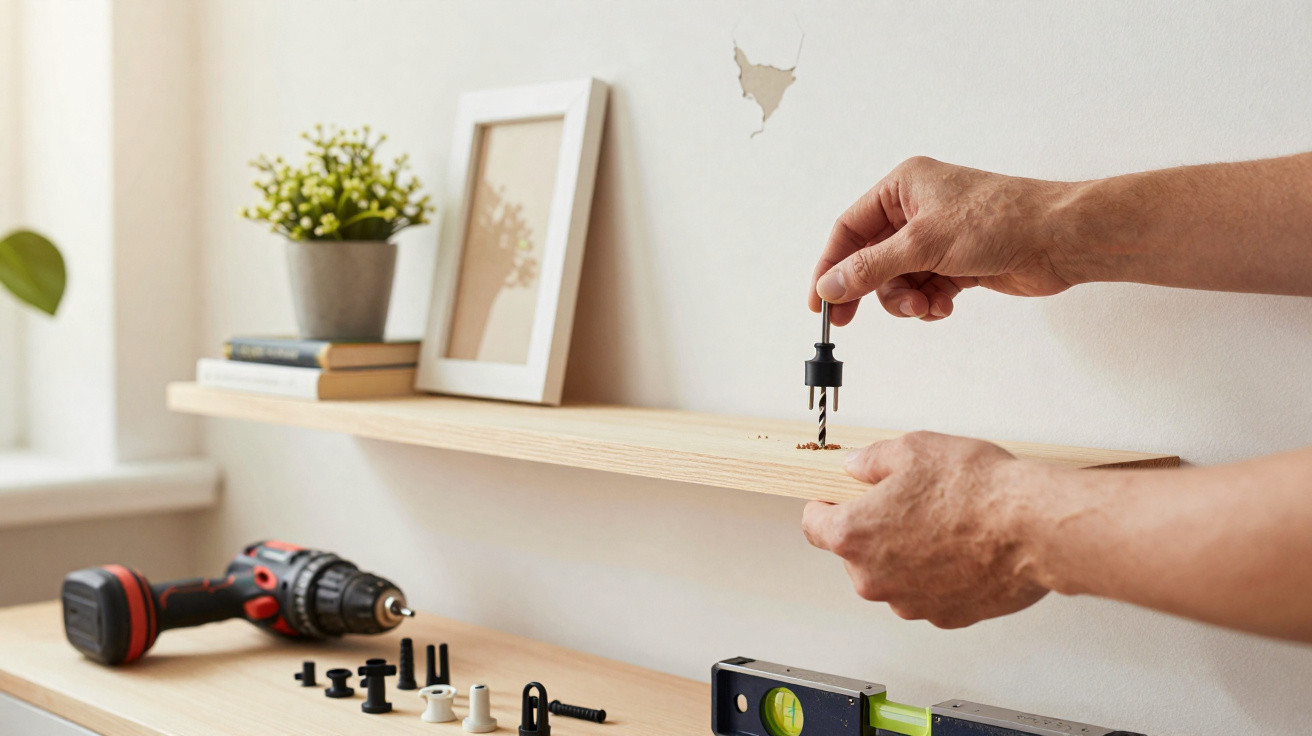
The sound is always the same: a faint crack, then the books slide, the plant topples and the shelf ends up on the floor amid dust, bent screws and muffled swearing. We all know that moment when we eye the wall suspiciously, as though it had personally chosen to let us down. Yet in most cases, the issue is neither the shelf nor even the drill: it begins with a wall plug selected too hastily because it “looked as if it would fit”. A secure fixing depends on one easily overlooked detail: plasterboard, hollow brick and concrete walls do not behave in the same way at all. And a universal wall plug is not magic. A few minutes spent assessing the wall can prevent a major household mishap.
Why a shelf eventually fails, even when it looked securely fixed
A shelf almost never falls without warning. It will often begin to tilt ever so slightly, the brackets pull on the screws, and the plasterboard hollows out around the holes like damp cardboard. The weight shown on the bracket packaging may be reassuring, but it tells only part of the story: that load is evenly distributed, static and tested under ideal conditions.
In a kitchen, for instance, two rows of plates, a few jars and a casserole dish can soon amount to 25 to 35 kilograms. When that load sits on an 80-centimetre shelf positioned away from the wall, it creates leverage that pulls the fixings forwards. One unsuitable wall plug can then bring the others down with it.
The wall is the key factor. Solid concrete provides dense resistance, whereas a plasterboard partition conceals a void along with a thin metal or timber framework. A screw may seem secure during installation, only to give way after a few weeks because of vibrations, doors opening and closing, or items added “just temporarily”. A shelf is never as light as it is on installation day.
Identifying your wall before choosing a wall plug that truly holds
Before reaching for the wall plugs, take time to test the surface. A wall that sounds solid when tapped with your knuckles is often concrete, stone or solid brick; a hollow sound suggests a honeycomb partition, plasterboard or hollow brick. Drilling dust also provides a clue: fine white dust often indicates plaster, reddish dust brick, and grey dust concrete.
For a solid concrete or solid-brick wall, a nylon expansion wall plug remains a reliable choice for a standard shelf, provided the drill-bit diameter and screw diameter are correct. For a heavy load, such as a filled bookcase or wall-hung unit, chemical anchoring with a threaded rod can provide greater strength, particularly in old, crumbly material.
Plasterboard calls for a different approach: the wall plug needs to expand behind the board in order to spread the load. The metal expansion wall plug, often called a Molly bolt, is suitable for medium to heavy shelves when fitted using dedicated pliers or a carefully controlled screwdriver.
“The best wall plug is not the one that feels strongest in your hand; it is the one that works with the wall rather than against it.”
- Solid wall: nylon wall plug, anchor bolt or chemical anchoring, depending on the load.
- Plasterboard: metal expansion wall plug for substantial loads.
- Hollow brick: long expansion wall plug or chemical anchoring with a mesh sleeve.
- Aerated concrete: specialist wide-thread wall plug or suitable chemical fixing.
The details that separate a stable shelf from an impending fall
The first rule is to consider what the shelf will need to support in six months’ time, rather than only on the day it is fitted. A board intended for novels may eventually be loaded with lever-arch files, vinyl records or especially heavy art books. Allow a generous safety margin and use more fixing points instead of relying on two heroic screws at either end.
Also follow the diameter stated on the wall-plug packaging. A hole that is too wide prevents effective expansion, while one that is too narrow damages the wall plug when it is forced in with a hammer. Let us be honest: nobody thoroughly cleans every drilled hole every day, but removing dust with a vacuum cleaner or air blower significantly improves grip, particularly when using chemical resin.
The screw deserves as much care as the wall plug. It must extend far enough into the fixing without being too short, and its head must suit the selected bracket. Do not secure a heavy shelf close to the edge of a crumbly wall, as the material may break away. A successful fixing relies on a simple trio: the right substrate, the right wall plug, the right screw.
A quick check that could save your wall, your belongings and your Sunday
Once the shelf is in place, the safest habit is to load it gradually. Start with a few books or non-fragile items, watch the brackets, then check that the screws are not spinning freely. Slight movement, a crack around a hole or a shelf pulling away from the wall are not decorative details: they are the first warning signs.
You must also accept that older walls can hold surprises. In a renovated flat, a plaster layer may conceal damaged hollow brick; in a newer house, a partition may hide an electrical cable, pipework or a metal stud. A material detector costs far less than water damage or a socket pulled out along with the fixing.
The good news is that a fallen shelf does not necessarily mean the wall is beyond repair. Damaged holes can be filled, then the fixing can be moved a few centimetres to a sound area or redone using a system suited to the cavity encountered. This mishap often reveals something very ordinary: we wanted to do the job quickly because a simple shelf seemed like a minor DIY task. It never entirely is, especially once it becomes home to the possessions of everyday life.
| Key point | Detail | Benefit for the reader |
|---|---|---|
| Identify the wall | Test the sound, inspect drilling dust and locate hollow areas. | Prevents using a wall plug designed for concrete in a fragile partition. |
| Anticipate the load | Account for future items, not only those present when the shelf is fitted. | Reduces the risk of gradual overloading and bracket distortion. |
| Take care during installation | Use the correct drill bit, clean the hole and select a compatible screw. | Turns an ordinary fixing into a durable anchor, even for everyday use. |





Comments
No comments yet. Be the first to comment!
Leave a Comment