
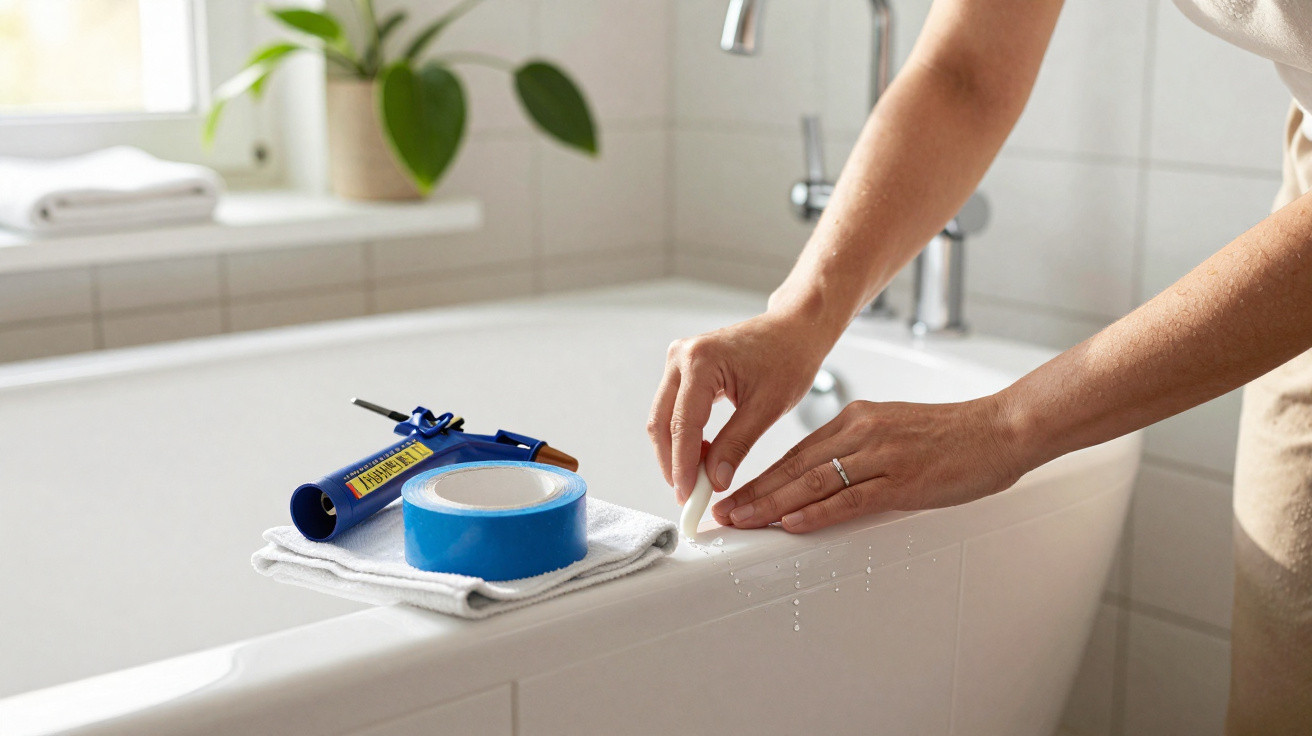
On a Saturday morning, the bathroom can look spotless, almost brand new. Then your eye catches that blackened line along the shower edge, or the small section of silicone lifting beside the basin, and the impression changes instantly. We all know the moment when just a few centimetres of sealant make the whole room look uncared for, even after a thorough clean. More frustrating still, a recently applied seal can already turn yellow, develop mould or crack for no obvious reason. In truth, the most careful DIYers do not rely on a miracle product: they prepare properly, allow drying time and maintain it with a very simple routine. The crucial detail is often dealt with before the cartridge is even opened. And it makes all the difference.
The perfect silicone seal starts long before the sealant gun
A silicone seal rarely fails when it is being smoothed with a finger. The problem begins earlier, when the surface looks dry but still holds moisture, soap, dust or a thin layer of limescale. In a shower, water seeps into places the eye cannot see and gradually works its way behind the silicone. Within a few weeks, a small dark mark appears. It never really goes away. A clean seal does not necessarily mean a clean surface, a distinction experienced DIYers have sometimes learned the hard way.
For Marc, who has renovated flats for twenty years, the same scenario comes up regularly: a tenant replaces the bath seal on Sunday, showers on Monday morning, then calls back two months later because the silicone is lifting. The cartridge itself is not necessarily at fault. The new seal was applied to an area that was still damp or put back into use too soon. Depending on the manufacturer, sanitary silicone often needs between 24 and 48 hours to dry fully, according to the thickness of the application, the temperature and the room's humidity. That may seem like a long wait, but it prevents having to do the entire job again.
The real secret is simple and practical: silicone must bond to a clean, dry and stable surface. Before application, every trace of the old seal needs to be removed, including the translucent pieces that remain stuck in corners. A suitable scraper, a clean cloth and household degreaser are often enough, provided the area is then left to dry for several hours. The most thorough people even use a hairdryer from a distance along the joints. This is not excessive; it is the easiest way to remove moisture hidden in the small hollows between tiles.
Subtle steps that keep silicone sealant lasting for years
The most dependable approach is to regard the seal as a finishing touch, rather than a rushed repair squeezed in between loads of washing. Once the surface is ready, apply masking tape on both sides to create an even line, lay down a continuous bead without stopping, then smooth it in one pass using a slightly damp flexible spatula. Remove the tape immediately, before the product begins to form a skin. The finish can look almost professional, even on a first attempt. Consistency of movement matters more than the amount of silicone applied.
A common mistake is assuming that a thicker seal offers better protection. In fact, an overly thick layer does not dry well at its centre and is more likely to retain moisture around its edges. Many people also press too hard with a finger, hollowing out the silicone and forming a small trough that is ideal for standing water. Let us be honest: nobody really manages that every day, particularly when the bathroom is used by the whole family. The aim is not to watch every drop, but to stop water sitting for hours on the edge of the bath or in the corner of the shower.
After application, the right approach is to leave the seal alone, with a window slightly open or the extractor fan running, and to avoid rushing into a shower or using harsh cleaning products. DIYers whose seals stay neat over time also follow a modest routine: they wipe away visible splashes and check the corners before mould becomes deeply established.
“A silicone seal does not need much attention, but it hates constant dampness and overly harsh products.”
- Choose a sanitary silicone with anti-fungal treatment for the bathroom.
- Wait at least 24 hours before any prolonged contact with water.
- Wipe areas where water collects after a very hot shower.
- Clean with a mild product rather than neat bleach.
Light maintenance is better than a difficult replacement
Keeping a seal looking immaculate for years is not an extraordinary DIY achievement. It mainly depends on small repeated habits, the sort that are easy to forget when time is short: ventilating after a shower, leaving the bathroom door open and quickly using a squeegee on a screen. Once a month, a cloth soaked in diluted household vinegar can help limit limescale marks, as long as the product is not left to work for too long. Seals do not respond well to powerful stripping agents or vigorous scrubbing with an abrasive sponge.
It is also a matter of noticing the early signs. As soon as an edge starts lifting or a black mark repeatedly returns in the same place, it is better to act early than to conceal the issue with whitening products. A small flaw dealt with promptly will often prevent water ingress behind a cabinet, beneath a bath or inside a partition wall. In many homes, damage begins with a crack that nobody considered urgent. Silicone sealant is discreet and almost ordinary, yet it protects the parts of the home most exposed to water. Everyone can see it as a chore or an act of care, depending on the time they choose to give it.
| Key point | Detail | Benefit for the reader |
|---|---|---|
| Surface preparation | Remove the old seal, degrease and dry the area completely | Better adhesion and fewer areas lifting |
| Drying time | Wait 24 to 48 hours before exposing the silicone to water | A stronger seal from the first few days |
| Regular maintenance | Ventilate, wipe away standing water and clean gently | Less mould and a clean appearance for longer |


Comments
No comments yet. Be the first to comment!
Leave a Comment