
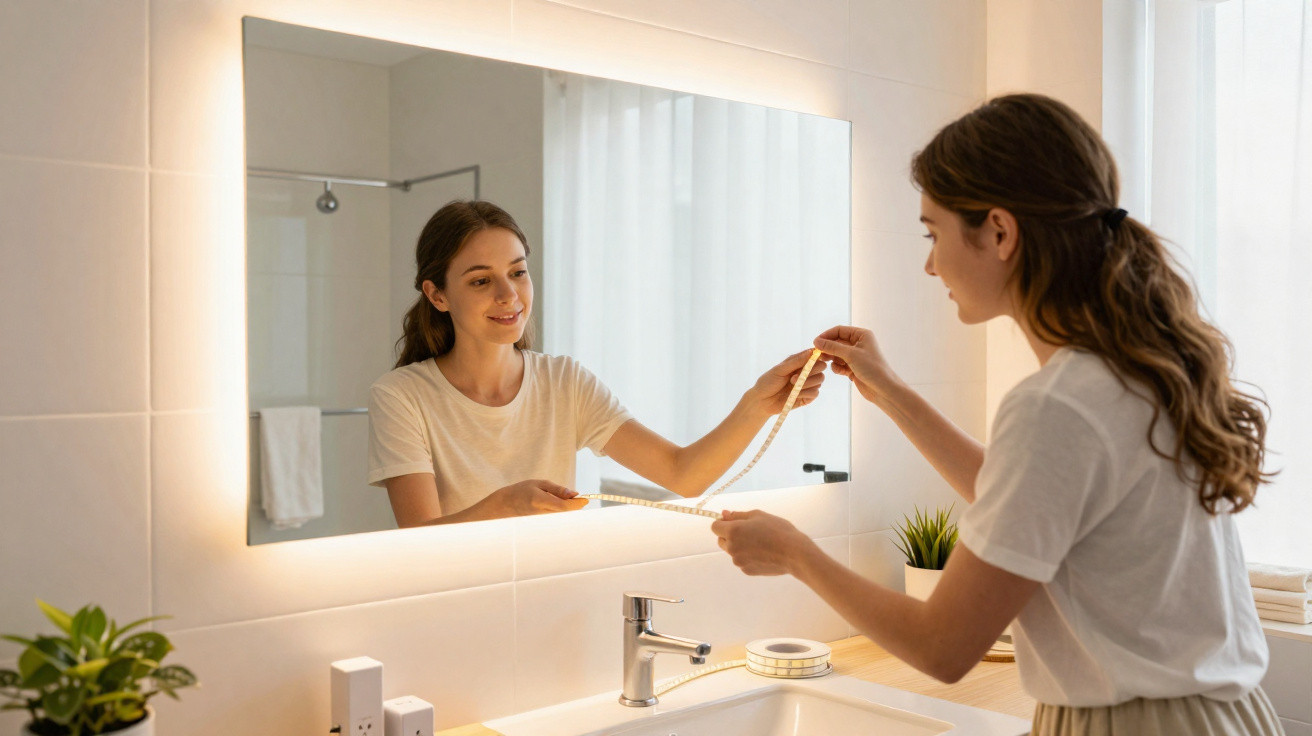
There is that moment, often in the morning, when you walk into the bathroom still half asleep and everything feels cold: the tiles, the mirror, the unforgiving white light. The room is clean, practical and sometimes even attractive on paper… yet something is missing. Perhaps a feeling of comfort. At a friend’s home, the turning point came from an almost invisible detail: a soft glow around the mirror. Ten minutes later, her bathroom looked less clinical, calmer, almost like a small hotel room. Most surprisingly, this DIY project requires no drill, no large budget and no hidden flair for decorating. All it takes is a well-chosen LED strip and a little common sense. The result can be genuinely striking.
Light behind the mirror transforms the room without changing it
We all know the feeling of a bathroom appearing dull despite freshly washed towels and a neatly organised vanity unit. Often, the problem is not the décor but lighting that comes solely from the ceiling, which is too direct and harsh both on the face and on the overall atmosphere. A discreet LED strip fixed behind the mirror produces indirect light, gently reflected from the wall rather than falling abruptly from above. The room immediately feels deeper, warmer and even a little more polished. It is not a major renovation, but the sense of change is real.
The idea is straightforward: attach a self-adhesive LED strip to the back of the mirror, a few centimetres in from the edges, so that the light creates a halo all around it. For a standard mirror measuring 60 to 80 centimetres, you will usually need two to three metres of strip, making this a modest-cost project, generally between €15 and €35 depending on quality. Clara, who rents an old flat, says she fitted hers one Sunday evening just before her family came to visit: her guests assumed she had replaced the entire mirror. In fact, she had simply added warm-white lighting.
This DIY project works because it changes how we perceive the space. Light diffused behind an object defines its shape and softens the sometimes stark lines of the basin, tiles or vanity unit. Warm white, ideally around 2,700 to 3,000 kelvins, feels more enveloping than very cool lighting. This is not about disguising an ageing bathroom with a lighting trick; it is about making it more pleasant to live with. Let us be honest: nobody undertakes a full makeover every day. Switching on attractive lighting, however, can change everyday life.
The ten-minute LED strip DIY project: what to do and what to avoid
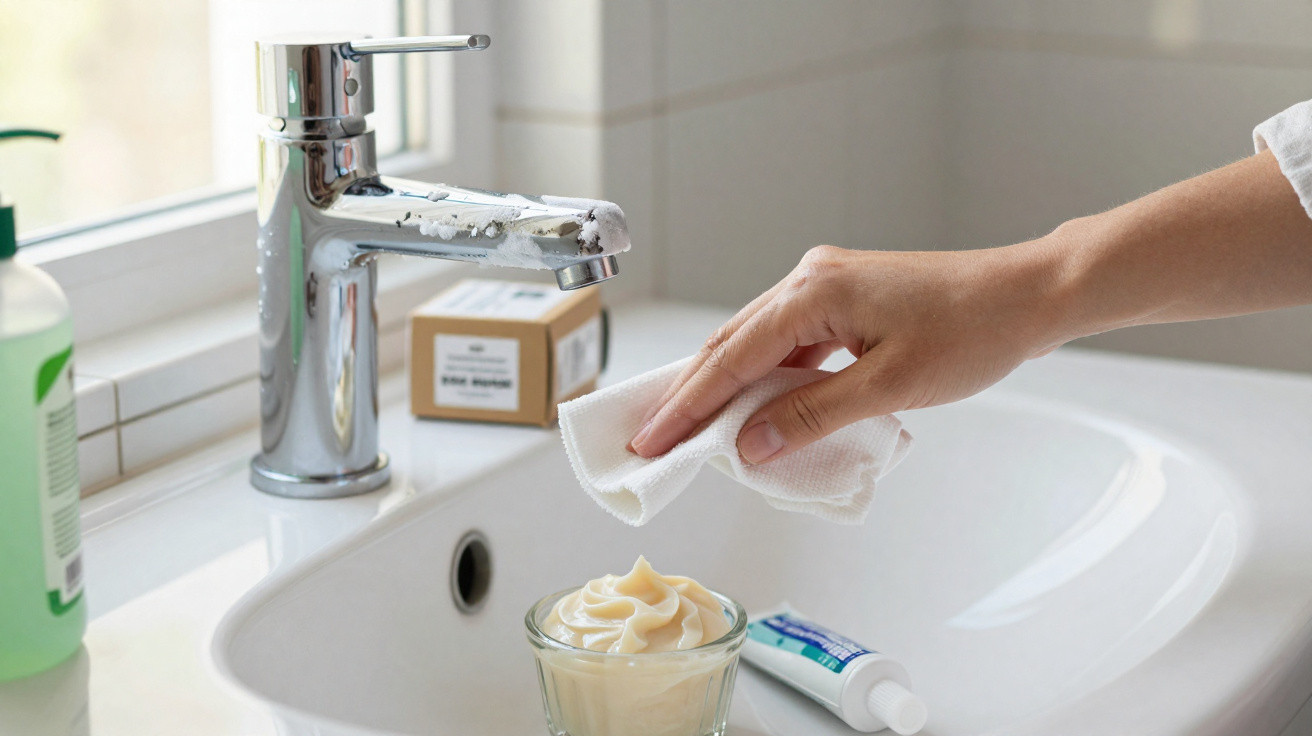
Before attaching anything, clean the back of the mirror with a dry cloth and a little methylated spirit, then allow it to dry for a few moments. Measure around the edge without trying to cover every corner precisely: it is better to leave a small five-centimetre gap so the halo stays soft and even. Next, unroll the LED strip and test it before fitting it. Gradually peel away the protective backing and press it into place gently. The right approach is to point the LEDs towards the wall, never outwards: the light source remains hidden and the finish looks far more elegant.
It is tempting to buy the first light strip you see online, especially one promising changing colours and a bargain-priced remote control. Yet a bathroom is not a hallway: humidity calls for a basic level of caution. Select a model designed for damp rooms, with a suitable protection rating such as IP44 or above depending on where it will be installed, and keep the power supply away from water splashes. If the socket is too close to the basin, or you are considering a fixed electrical connection, it is best to seek advice from an electrician. A lovely halo is not worth compromising safety.
Another common mistake is opting for light that is too blue or too powerful, or fitting the strip without considering the cable that will then hang down the wall. A small white cable trunking channel, a discreet USB lead or a power supply concealed in a cupboard can make all the difference. As this useful rule often heard among interior-design enthusiasts puts it:
“If you can see the LED strip, the DIY project looks amateur; if you see only its light, the room seems transformed.”
- Choose a warm-white temperature between 2,700 and 3,000 kelvins.
- Test the lighting before removing the adhesive backing.
- Avoid any electrical installation exposed to splashes.
- Hide the cable to retain the “wow” effect.
A softer bathroom without a full renovation
This small lighting addition does not replace a proper light designed for applying make-up, shaving or getting ready precisely. Instead, it complements existing lighting by creating a different atmosphere depending on the time of day. In the morning, the halo makes waking up less abrupt. In the evening, it means you need not switch on the sole ceiling light, which can sometimes turn every glance in the mirror into a police interrogation. Well-positioned lighting tells a different story about the room: more intimate and more restful, without touching the tiles or furniture.
There is also something satisfying about this kind of quick DIY project: it lets you take control of a space you thought was fixed. Renters find it a reversible solution, those on smaller budgets gain an alternative to building work, and décor enthusiasts have a way to try out an atmosphere without a huge commitment. Some will favour a very subtle white halo; others may prefer an adjustable version with lower brightness for an evening bath. The point is not to follow a trend to the letter. It is to create a bathroom where you want to linger for two minutes longer.
Perhaps the most interesting detail is that the transformation is not visible only in photographs. You feel it when the door closes, the mirror lights up and the room suddenly becomes less purely functional. You may then see your own space differently, noticing a neglected corner, an old shelf that could be decluttered or a towel that could be replaced with a softer shade. Ten minutes can sometimes be enough to spark the wish to take better care of your home. And there is every chance that your guests will notice the difference before they understand where it comes from.
| Key point | Detail | Added value for the reader |
|---|---|---|
| LED strip behind the mirror | Fixed to the rear and facing the wall, it creates a discreet halo of light. | A warmer atmosphere without replacing the mirror or renovating the bathroom. |
| Recommended warm white | A temperature of 2,700 to 3,000 kelvins prevents an overly cold effect. | A softer result for rushed mornings and quiet evenings. |
| Safety and finishing touches | A model suitable for humidity, a power supply kept away from water and a concealed cable. | A stylish, practical DIY project that feels safer every day. |

Comments
No comments yet. Be the first to comment!
Leave a Comment