
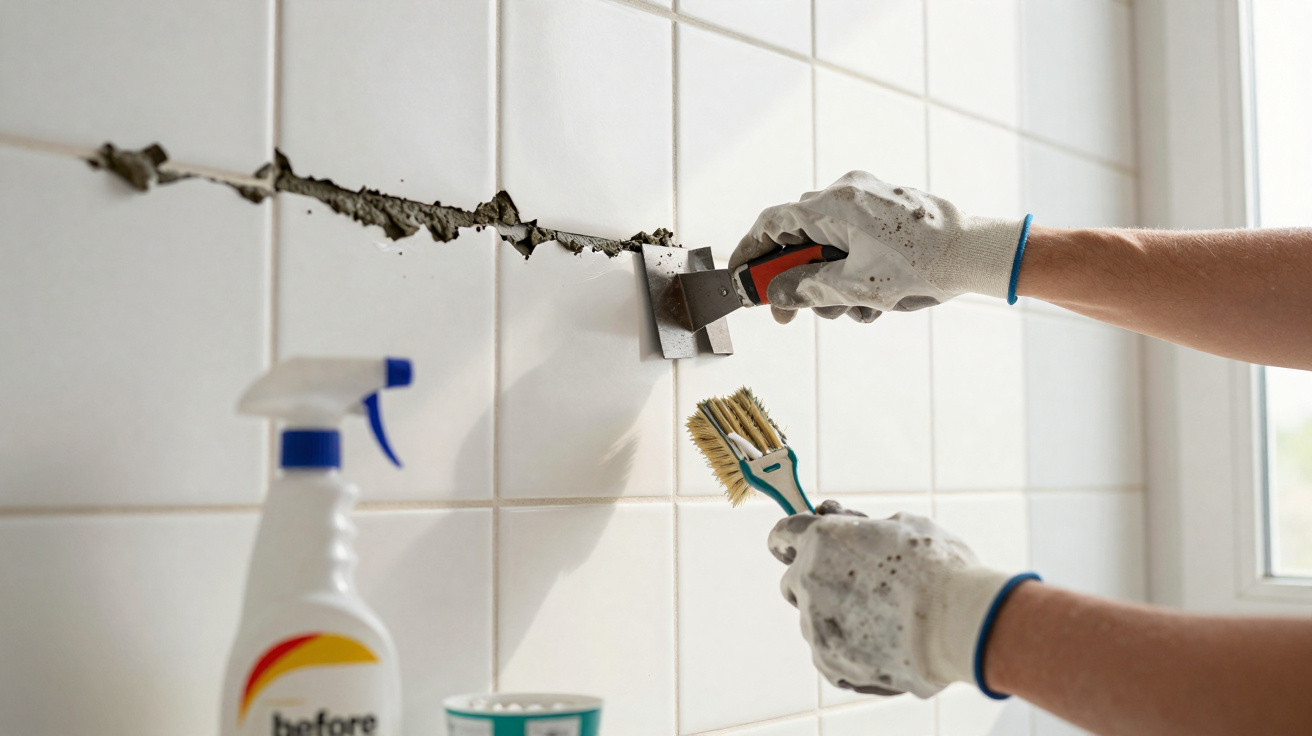
Darkened grout may simply be dirty on the surface, whereas crumbling is a sign that it has lost strength and needs repair. When cement-based grout stays damp for extended periods, fungi colonise its pores and uneven areas, while cracks allow water to keep penetrating between the wall tiles.
Why does grout turn black and start crumbling?
Grout fills the gaps between ceramic tiles and may be made with cement, aggregates, pigments, polymers and additives. Cement-based types have pores that can take in moisture, soap residue and body oils, producing favourable conditions for several fungi, including species from the Aspergillus genus.
Crumbling can be caused by age, water ingress, movement in the tiled surface or incorrect application. Before beginning repairs, check the joints for the following signs:
- Loose powder when you run a finger over the grout;
- Cracks that return after cleaning;
- Hollow, sunken or missing sections between the tiles;
- Black marks accompanied by a damp smell;
- Areas that stay wet for a long time after showering.
When is cleaning no longer enough?
Cleaning with an appropriate product can remove surface mould if the grout remains solid. However, if it sheds particles, has holes or stays dark after it has been cleaned and dried, brightening the surface will not fix the damage. In these cases, the deteriorated material must be removed and the joint renewed.
- Clean the grout if it is firm and free from cracks;
- Replace any sections that have become brittle;
- Check for leaks if dampness returns quickly;
- Inspect the silicone around the corners and edges of the shower enclosure;
- Seek technical assistance if tiles are loose or the wall is damp.
How do you remove deteriorated grout and get rid of mould?
Complete removal is needed only in the affected sections and should be carried out with a manual grout scraper. Protect your eyes and hands, work carefully to avoid chipping the tiles, and remove the material until you reach sound grout. Keep dust to a minimum, and do not push the tool so deeply that it damages the waterproofing behind the tiles.
Once the grout has been scraped out, vacuum up the debris and wash the joints using mild detergent and water, without combining chemical products. The area must dry fully before fresh grout is applied. If there is water ingress, a leak or moisture coming from behind the tiles, the underlying cause must be dealt with first; otherwise, mould will return even on newly applied grout.
How to apply new grout and protect the joints
Mix and apply a grout that is suitable for the joint width and for use in wet areas, following the proportions and curing time stated on the packaging. Once it has fully cured, a penetrating sealer designed for cement-based grout can limit water absorption and staining, but it does not replace structural waterproofing in the shower enclosure.
- Remove every trace of dust before applying the grout;
- Fill the joints completely, without leaving voids;
- Wipe away excess with a sponge that is only lightly damp;
- Allow the stated time to pass before wetting the tiled surface;
- Apply sealer only to grout that is cured and dry;
- Renew the protective treatment in line with the manufacturer’s guidance.
How can you prevent grout joints from turning black again?
Moisture control matters more than repeatedly using harsh cleaning products. After showering, use a squeegee on the shower enclosure walls and floor, leave the door open, and use a window or extractor fan to speed up drying. The same approach forms part of everyday care that prevents bathroom grout from darkening.
Regularly inspect corners, drains, taps and pipe entry points, as small leaks can keep the joints damp from within. When grout remains firm, sealed and dry between showers, fungi have less moisture in which to grow, so black stains take longer to return.





Comments
No comments yet. Be the first to comment!
Leave a Comment